Let’s dive into the world of remote SSH login for IoT devices running Ubuntu on Mac. Whether you're a tech enthusiast, a developer, or just someone curious about how to connect to IoT devices remotely, this guide is your ticket to mastering the process. In today’s interconnected world, being able to remotely manage and control IoT devices is not just convenient—it’s essential. So, buckle up and get ready to level up your skills!
SSH, or Secure Shell, is like the secret handshake of the tech world. It’s a protocol that lets you securely access and manage remote devices over a network. When it comes to IoT devices running Ubuntu, SSH becomes your best friend. Imagine being able to configure, monitor, and troubleshoot your IoT devices from the comfort of your Mac, no matter where you are. Sounds cool, right?
But here’s the thing—getting it right requires a bit of know-how. That’s why we’ve put together this comprehensive guide. We’ll walk you through everything you need to know about remote SSH login for IoT devices running Ubuntu on Mac, from setting up the environment to troubleshooting common issues. Let’s make sure you’re not just using SSH but mastering it!
- Unveiling The Magic Maza 49 Live Ndash Your Ultimate Entertainment Hub
- Lena Miculek Husband The Love Story You Need To Know About
Why Remote SSH Login for IoT Devices Matters
Before we dive into the nitty-gritty, let’s talk about why remote SSH login is such a big deal in the IoT world. Picture this: you’ve got a fleet of IoT devices deployed in various locations, each running Ubuntu. Now, how do you manage them efficiently without physically being there? That’s where SSH comes in.
Remote SSH login offers several advantages:
- Security: SSH encrypts all data transmitted between your Mac and the IoT device, keeping your information safe from prying eyes.
- Convenience: With SSH, you can manage your IoT devices from anywhere, at any time, as long as you have an internet connection.
- Efficiency: Automating tasks and running scripts remotely can save you tons of time and effort.
Whether you’re a hobbyist tinkering with home automation or a professional managing large-scale IoT deployments, mastering SSH is a must-have skill.
- Paula Baniszewski A Rising Star In The Entertainment World
- Travis Fimmel Face Scar Unveiling The Story Behind The Iconic Mark
Setting Up SSH on Your IoT Device
Alright, let’s get our hands dirty. The first step in remote SSH login is setting up SSH on your IoT device. Here’s how you can do it:
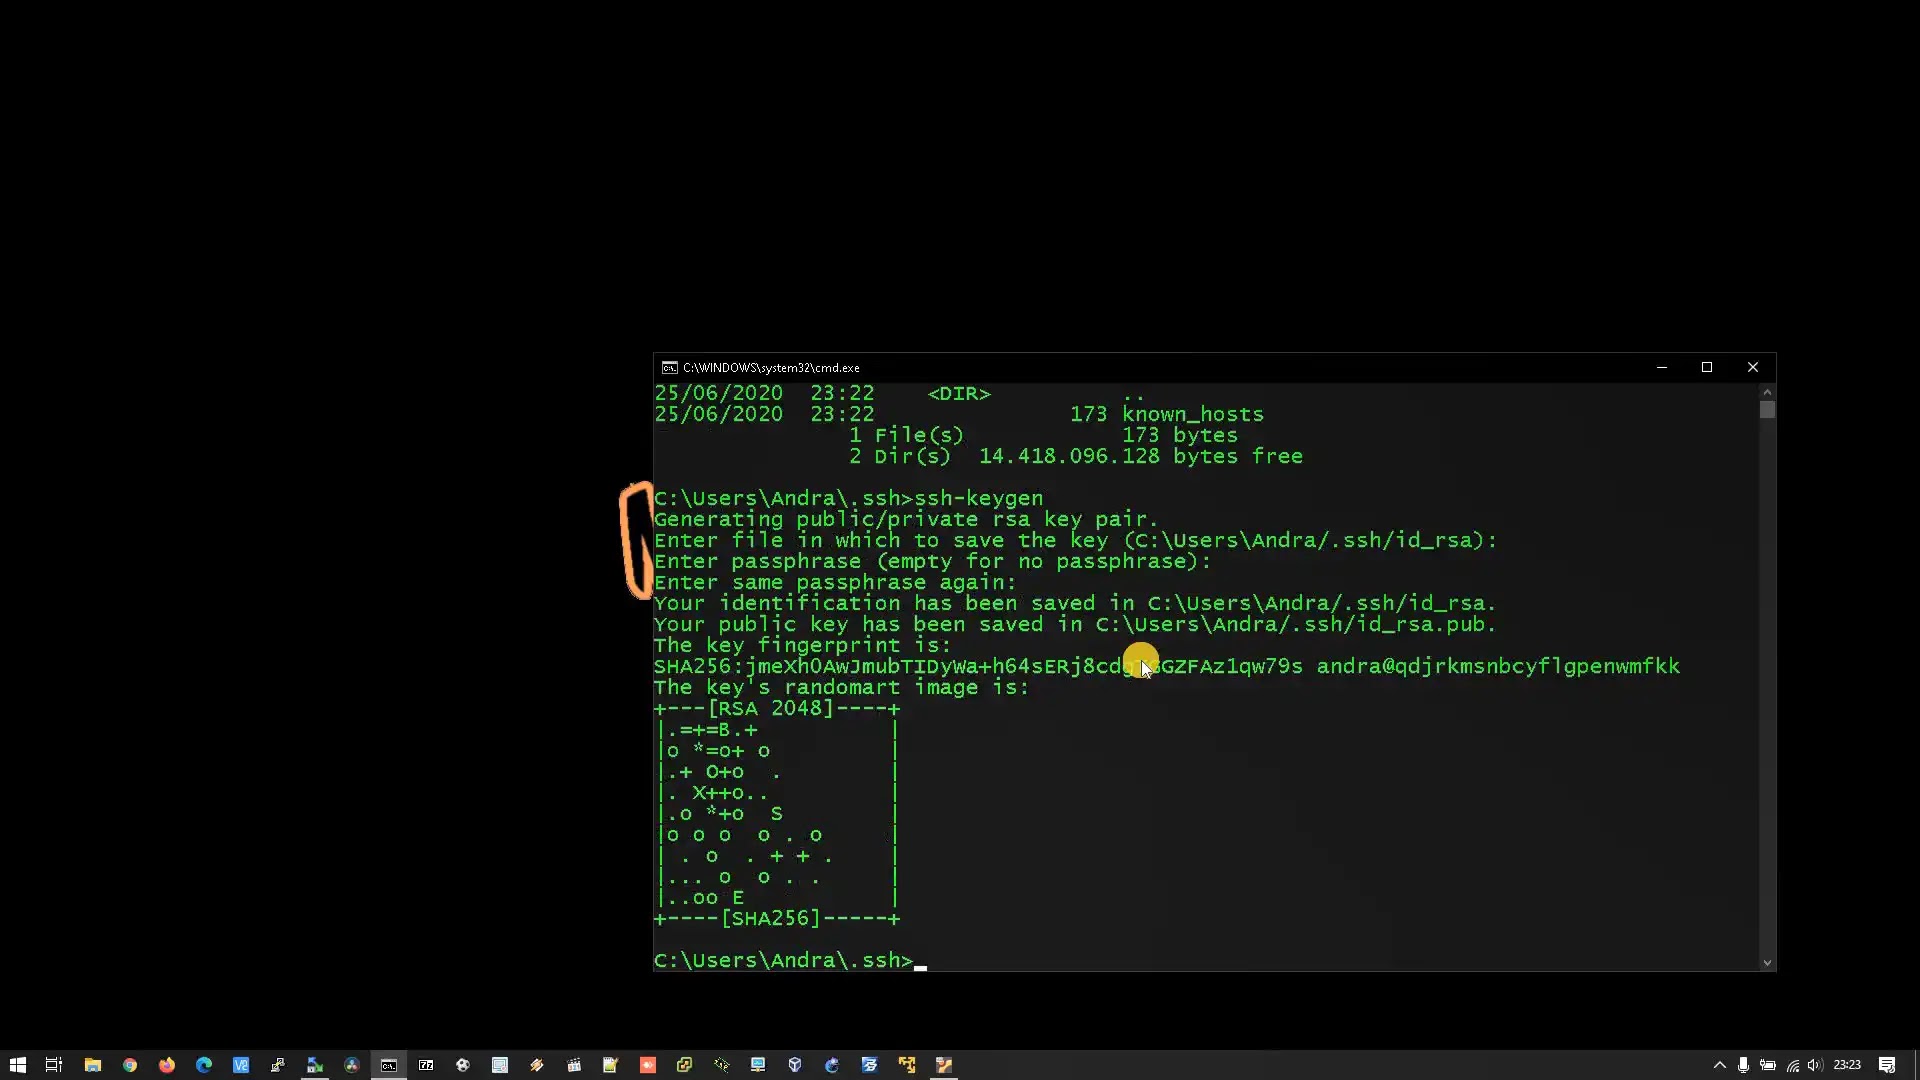
Step 1: Install SSH Server
Most IoT devices running Ubuntu come with SSH pre-installed, but it’s always a good idea to double-check. Open a terminal on your IoT device and type:
sudo apt update && sudo apt install openssh-server
This command ensures that the SSH server is installed and up to date.
Step 2: Start and Enable SSH Service
Once the SSH server is installed, you need to start the service and enable it to start on boot. Use these commands:
sudo systemctl start ssh
sudo systemctl enable ssh
With these steps, your IoT device is now ready to accept SSH connections.
Connecting from Your Mac
Now that your IoT device is set up, it’s time to connect from your Mac. Here’s how you can do it:
Step 1: Open Terminal
On your Mac, open the Terminal application. You can find it by searching for "Terminal" in Spotlight or navigating to Applications > Utilities > Terminal.
Step 2: Enter SSH Command
Once the Terminal is open, type the following command:
ssh username@ip_address
Replace "username" with the username of your IoT device and "ip_address" with the IP address of your IoT device. For example:
ssh pi@192.168.1.10
Hit Enter, and you’ll be prompted to enter the password for the user account on your IoT device.
Tips for Secure SSH Connections
Security should always be a top priority when dealing with remote connections. Here are some tips to make your SSH connections more secure:
- Use Strong Passwords: Avoid using common passwords or ones that are easy to guess.
- Disable Root Login: Allowing root login over SSH can be risky. Instead, use a regular user account and use sudo when needed.
- Change Default SSH Port: The default SSH port is 22. Changing it to a non-standard port can help reduce unauthorized access attempts.
- Use Key-Based Authentication: This method is more secure than password-based authentication and eliminates the need to remember complex passwords.
Implementing these tips will go a long way in securing your SSH connections.
Troubleshooting Common Issues
Even with the best setup, things can go wrong. Here are some common issues you might encounter and how to fix them:
Issue 1: Connection Refused
If you’re getting a "Connection refused" error, it could mean that the SSH service is not running on your IoT device. Double-check that the SSH server is installed and running. You can also try restarting the SSH service using:
sudo systemctl restart ssh
Issue 2: Permission Denied
This error usually occurs when the username or password is incorrect. Make sure you’re using the correct credentials. If you’ve changed the default SSH port, ensure that you’re connecting to the correct port.
Issue 3: Network Connectivity
If you can’t reach your IoT device, it might be a network issue. Check that both your Mac and IoT device are connected to the same network. You can also try pinging the IoT device from your Mac to verify connectivity:
ping ip_address
Advanced SSH Features for IoT Devices
Once you’ve mastered the basics, it’s time to explore some advanced SSH features that can take your IoT management to the next level:
1. Port Forwarding
Port forwarding allows you to access services running on your IoT device from your Mac. For example, if you’re running a web server on your IoT device, you can forward port 80 to your Mac using:
ssh -L 8080:localhost:80 username@ip_address
Now, you can access the web server by navigating to http://localhost:8080 on your Mac.
2. SSH Tunnels
SSH tunnels provide a secure way to access services that are not directly exposed to the network. This is particularly useful when working with sensitive data.
3. Automated Scripts
Running automated scripts over SSH can save you a ton of time. For example, you can set up a cron job to run a script on your IoT device at regular intervals.
Best Practices for Managing IoT Devices
Managing IoT devices remotely requires more than just knowing how to use SSH. Here are some best practices to keep in mind:
- Regular Updates: Keep your IoT devices and software up to date to protect against vulnerabilities.
- Monitor Logs: Regularly check system logs for any suspicious activity.
- Backup Data: Always have a backup plan in case something goes wrong.
By following these best practices, you can ensure that your IoT devices remain secure and functional.
Real-World Applications of Remote SSH Login
Now that you know how to set up and manage remote SSH login, let’s look at some real-world applications:
1. Home Automation
With SSH, you can remotely control and monitor your home automation system. From adjusting the thermostat to checking security cameras, SSH gives you complete control.
2. Industrial IoT
In industrial settings, SSH is used to manage and monitor IoT devices deployed in remote locations. This can include everything from factory equipment to environmental sensors.
3. Research and Development
Researchers often use SSH to remotely access IoT devices used in experiments. This allows them to collect data and make adjustments without being physically present.
Future Trends in IoT and SSH
The world of IoT is evolving rapidly, and SSH is likely to play an even bigger role in the future. Here are some trends to watch out for:
- Edge Computing: As more processing power moves to the edge, SSH will become even more important for managing these devices.
- 5G Networks: The advent of 5G will enable faster and more reliable remote connections, making SSH even more powerful.
- AI Integration: AI-powered tools will enhance SSH capabilities, allowing for smarter and more efficient device management.
Staying ahead of these trends will help you remain competitive in the IoT space.
Conclusion
Remote SSH login for IoT devices running Ubuntu on Mac is a powerful tool that every tech enthusiast should master. From setting up the environment to troubleshooting common issues, this guide has covered everything you need to know. Remember to always prioritize security and follow best practices to ensure your IoT devices remain safe and functional.
Now that you’ve learned the ropes, it’s time to put your knowledge into practice. Whether you’re managing a home automation system or overseeing industrial IoT deployments, SSH will be your trusty companion. So, what are you waiting for? Get out there and start exploring the endless possibilities of remote IoT management!
Don’t forget to leave a comment or share this article if you found it helpful. And if you have any questions or need further assistance, feel free to reach out. Happy SSH-ing!
Table of Contents
- Mastering Remote SSH Login for IoT Devices Running Ubuntu on Mac
- Why Remote SSH Login for IoT Devices Matters
- Setting Up SSH on Your IoT Device
- Connecting from Your Mac
- Tips for Secure SSH Connections
- Troubleshooting Common Issues
- Advanced SSH Features for IoT Devices
- Best Practices for Managing IoT Devices
- Real-World Applications of Remote SSH Login
- Future Trends in IoT and SSH
- Conclusion
- Exploring The Allure Of Sexy Film Open Your Mind To The Art Of Cinematic Seduction
- Tante Tobrut The Remarkable Story Of Indonesias Beloved Figure